top of page

Permits usually get delayed because submissions are incomplete, non-compliant, or changed after filing—so the application gets returned for corrections. In CDO, the Building Official requires specific sets of forms, proof of ownership, multiple plan sets, and professional licenses; incomplete applications are not accepted.

The real reasons permits delay projects


1) Incomplete document set

CDO’s Building Permit checklist explicitly requires (among others):

  • 4 copies of the Unified Application Form

  • proof of ownership (OCT/TCT/Deed of Sale/lot locational plan)

  • 4 sets of plans/documents (architectural, structural, electrical, sanitary/plumbing, etc.)

  • photocopies of valid PRC licenses of involved professionals

  • notarized estimated building value

  • Construction Safety & Health Program + Affidavit of Undertaking…and it clearly states: only complete and compliant applications will be accepted.


2) Missing fire-related requirements

Even at occupancy stage, CDO’s checklist requires proof tied to fire safety documentation (e.g., FSEC copy) as part of the Certificate of Occupancy packet.


3) Plan changes after submission

Changing layout, adding floor area, moving walls/openings, or revising MEP after filing often triggers rework in documents and re-routing approvals (a common delay driver).


4) Backlog + routing across offices

LGU processing capacity and multi-step routing can slow things down, especially when applicants don’t follow up or don’t respond quickly to “return for compliance.” Research on permit service quality points to staff capacity and incomplete compliance as recurring issues.


5) Occupancy gets delayed because turnover docs are not ready

CDO’s Certificate of Occupancy checklist requires: Unified application form, notarized Certificate of Completion (Annex H) signed by owner and licensed professional (and contractor signatory if contracted), construction logbook, approved plans/ancillary permits, PRC licenses, photos of completed structure, and more. National Building Code guidance also ties occupancy release to final inspection and submission of completion documents.


How we prevent permit delays (our control system)


1) Pre-permit “Document Audit” (before we print anything)

We use a checklist-based audit against CDO’s requirements (forms, ownership, plan sets, PRC IDs, notarized declarations, safety docs) so the application doesn’t bounce.

2) “Permit-ready plans” rule (no half-baked drawings)

We don’t submit until the plan set is complete across disciplines required for your project (architectural + structural + electrical + sanitary/plumbing, etc.).

3) Freeze the scope before submission

We lock:

  • target floor area

  • room count + layout

  • wall system/openings

  • wet areas + MEP routing. So we don’t trigger plan revisions mid-permit. (This alone prevents the most painful delays.)

4) Assign one accountable “Permit Owner”

One person owns: submission date, claim stub tracking, follow-up schedule, and compliance turnaround. CDO’s checklist even emphasizes keeping the claim stub for release and follow-ups.

5) Parallel prep for Occupancy from Day 1

We set up the Occupancy folder early (logbook discipline, photo documentation, completion forms planning), so occupancy doesn’t stall at turnover.


Want our copy-paste CDO Permit + Occupancy Checklist Pack (with a homeowner-friendly “what to prepare” version)? Comment PERMIT.
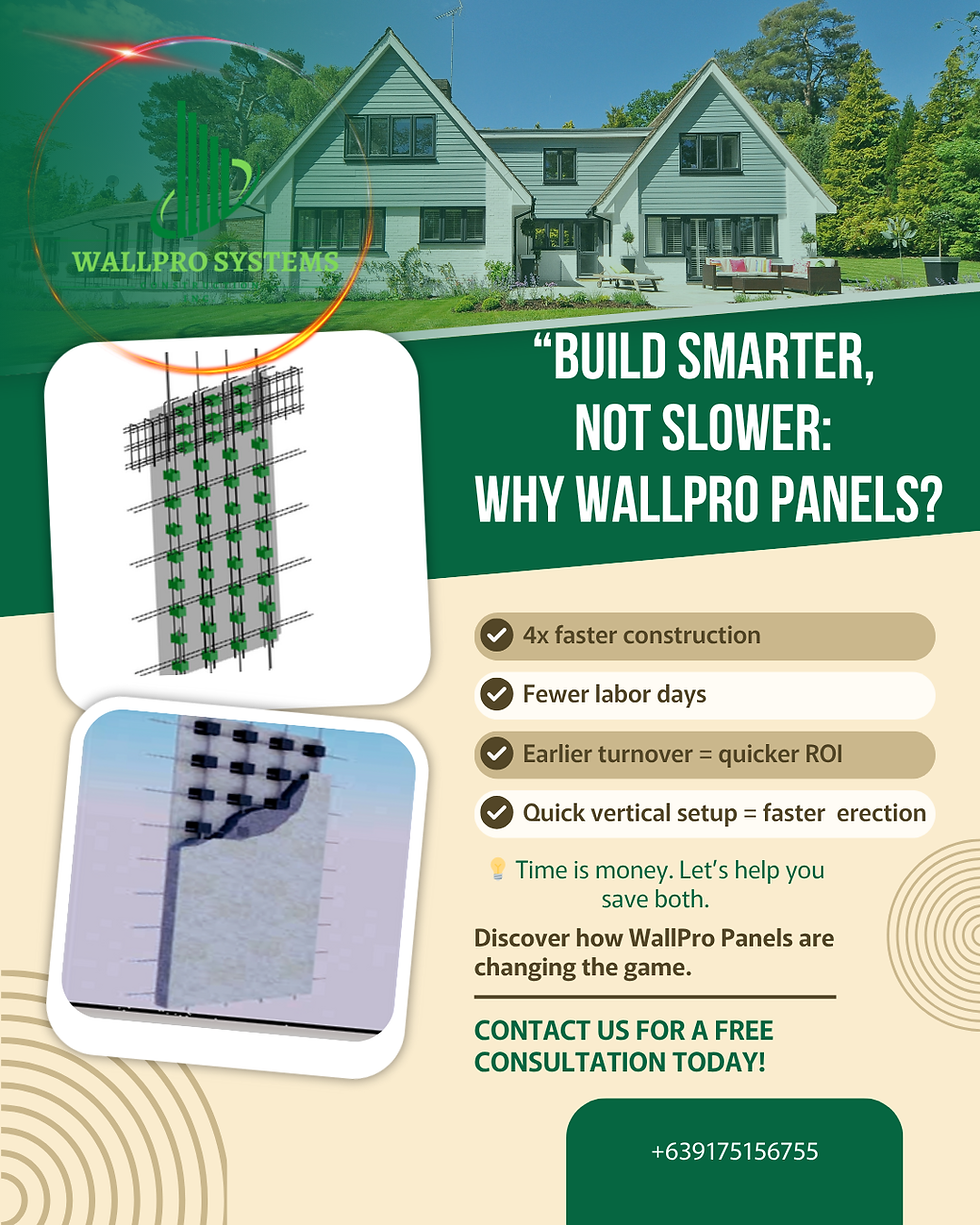

Why permits delay projects and how we prevent it


If you’re choosing between WallPro panels and traditional CHB (concrete hollow blocks), don’t start with “Which is cheaper per sqm?” Start with this better question:

Which system reduces labor hours, shortens the schedule, and cuts site waste—without sacrificing strength and finish quality?

Because in real residential builds, the biggest budget leaks come from three things:

  1. Slow progress (extended overhead + longer labor exposure)

  2. Labor-heavy processes (more workers, more days, more coordination risk)

  3. Waste + rework (materials thrown away, work repeated, delays multiplied)

Here’s what actually changes when you switch from CHB to a panelized wall system like WallPro.


Quick answer (snippet-friendly)

WallPro-style prefabricated wall panels typically reduce build time, reduce labor demand, and reduce waste because large wall sections are installed faster with fewer on-site block-laying steps. Prefabrication is widely cited for shorter construction periods, reduced labor requirements, and reduced material wastage compared to conventional methods. WallPro specifically markets a reduction in construction time “up to 60%,” depending on project conditions.


1) SPEED: fewer steps between “layout” and “wall up”

CHB workflow (why it takes longer)

CHB walls are built in many small units, which creates more steps and waiting time:

  • deliver blocks + sand + cement

  • mix mortar constantly

  • lay blocks course-by-course

  • cure and correct alignment issues

  • plastering both sides (often required for finish quality)

  • more patching (conduits, chases, uneven surfaces)

That’s not “bad”—it’s just step-heavy.


WallPro workflow (why it’s faster)

Panel systems shrink the number of on-site steps because wall sections are installed in larger, repeatable pieces. Prefabrication research consistently notes speed gains because fabrication is standardized and assembly is faster on site.

WallPro’s own materials highlight reducing construction time “up to 60%,” which aligns with the general advantage of panelized systems—especially on projects with clear layouts and repeatable wall lines.


Homeowner effect: Faster “wall-up” stage usually means you hit roofing and weather-tight milestones earlier—reducing the risk of rain delays and long idle periods.


2) LABOR: less manpower tied up for longer periods

CHB is manpower-intensive by nature

CHB relies heavily on masons and helpers for repetitive laying, mortar mixing, alignment checking, and plastering. More steps usually means:

  • more labor hours

  • more supervision required

  • higher risk of small errors turning into rework (plumb/level issues, uneven finishes)

Panel systems reduce labor demand (and rework exposure)

A consistent finding in prefab literature is reduced labor requirements due to quicker installation and more controlled production/assembly.

In plain terms: fewer people are needed for fewer days for the walling stage because you’re not laying hundreds to thousands of individual blocks.

Homeowner effect: Labor-light stages are easier to manage, easier to schedule, and usually produce more predictable progress updates.


3) WASTE: cleaner sites, fewer throwaways, less rework

CHB sites usually generate more waste

CHB work tends to create leftover mortar, broken blocks, off-cuts, packaging, and frequent patching. Waste doesn’t just cost disposal fees—it costs time, handling, and rework cycles.

Prefab/panel systems typically reduce waste

Studies comparing prefabricated vs non-prefabricated projects report lower waste generation with prefabrication; one paper reports prefabricated projects having about 25.85% less total waste generation than non-prefabricated projects (context-dependent). Industry panel suppliers also position “minimal wastage” as a core advantage because panels reduce on-site cutting and wet trades.


Homeowner effect: Cleaner sites tend to move faster (less clutter, fewer delays), and less waste often means fewer surprise “extras” (hauling, disposal, replacement materials).

Simple comparison table (what changes)

Factor

Traditional CHB

WallPro / panelized walls

Speed

Step-heavy, slower wall-up

Faster wall-up via larger installed sections

Labor

More labor hours across more days

Reduced labor requirement for walling stage

Waste

More mortar/breakage/patching

Lower waste generation typical in prefab projects

The homeowner’s “apples-to-apples” checklist (use this before choosing)

To compare WallPro vs CHB fairly, ask both bidders for:

  1. Wall system scope (exact inclusions, thickness, finish method)

  2. BOQ + exclusions list (so “cheap” doesn’t mean “missing”)

  3. Timeline by milestone (wall-up date, roof date, rough-ins date)

  4. Labor plan (crew size, supervisor presence, projects handled concurrently)

  5. Waste/disposal plan (who pays hauling + dumping, how often cleanup happens)

  6. Rework policy (punchlist handling, defect correction timeline)

If the quote can’t explain those clearly, the system isn’t the problem—the planning is.


Want my copy-paste Wall System Comparison Checklist + BOQ/Exclusions template? Comment PANEL and I’ll send it.


WallPro vs CHB: what changes in labor, speed, waste


That hairline crack on your wall?

It’s not “normal.” It’s a message.

Some cracks are harmless.

But some are warning signs—quietly telling you the structure is moving, the foundation is failing, or the steel is corroding.

If you ignore the wrong crack, you don’t just risk repairs.

You risk collapse, injury, and total rebuild costs.


Types of Cracks in Structures

(Reason + Danger + Solution)

1) Hairline Shrinkage Cracks (Plaster or Concrete Surface)

What it looks like: Thin, shallow cracks like spider lines on plaster or concrete surface.

Reason:

  • Drying shrinkage

  • Too much water in mix

  • Poor curing

  • High heat exposure during drying

  • Danger level: ✅ Low (usually cosmetic)

  • Best solution:

  • Surface patching / skim coat

  • Proper curing for new concrete

  • Paint + crack filler

2) Settlement Cracks (Diagonal Cracks on Walls)

What it looks like: Diagonal cracks from corners of doors/windows or wall edges.

Reason:

  • Uneven soil settlement

  • Poor foundation compaction

  • Weak footing design

  • Water erosion under footing

  • Danger level: ⚠️ Medium to High (can worsen)

  • Why it’s dangerous:

  • Settlement means your foundation is shifting, and if movement continues, it will damage beams, columns, and flooring.

  • Best solution:

  • Monitor crack width (weekly)

  • Structural assessment

  • Soil correction / underpinning if active

  • Repair with epoxy injection + reinforcement if needed

3) Vertical Cracks in Walls

What it looks like: Straight up-and-down cracks on walls, often long.

Reason:

  • Differential movement

  • Temperature expansion/contraction

  • Poor plaster bonding

  • Minor settlement

  • Danger level: ⚠️ Medium (depends on width + movement)

  • Why it’s dangerous: If it keeps growing, it signals movement stress.

  • Best solution:

  • Crack gauge monitoring

  • Patch if stable

  • If active: check foundation and supports

4) Horizontal Cracks (Most Dangerous in Structural Walls)

What it looks like: Long horizontal line cracks across a wall.

Reason:

  • Bulging wall pressure

  • Soil pushing basement/retaining walls

  • Weak reinforcement

  • Beam deflection pushing masonry

  • Danger level: 🚨 High

  • Why it’s dangerous: Horizontal cracks often mean the wall is bending and losing its strength. This can lead to sudden failure.

  • Best solution:

  • Immediate inspection

  • Structural strengthening (steel support, tie beams, retrofitting)

  • Stop load and water pressure source

5) Beam Cracks (Midspan or Near Supports)

What it looks like:

  • Hairline cracks at bottom midspan (flexural)

  • Diagonal cracks near supports (shear)

  • Reason:

  • Overloading (extra floors, heavy tiles, water tanks)

  • Poor steel placement

  • Weak concrete strength

  • Wrong beam size design

  • Danger level: 🚨 High

  • Why it’s dangerous:Beams carry the load of your entire structure. When beams crack, your slab can sag, your walls can split, and your whole frame can weaken.

  • Best solution:

  • Structural engineer assessment

  • Load reduction

  • Epoxy injection + carbon fiber wrapping / jacketing

  • Redesign if overloaded

6) Column Cracks (Especially Vertical + Wide)

What it looks like: Vertical cracks along the height of columns or crushed concrete edges.

Reason:

  • Overload

  • Poor concrete cover

  • Wrong rebar spacing

  • Weak mix + honeycombing

  • Danger level: 🚨 Very High

  • Why it’s dangerous: Columns are the legs of the building. If a column fails, the building can progressively collapse.

  • Best solution:

  • Immediate professional evaluation

  • Column jacketing (RC or steel)

  • Stop additional loads

7) Slab Cracks (Floor Cracks)

What it looks like: Random or straight cracks on floor slab.

Reason:

  • Shrinkage + poor curing

  • No control joints

  • Weak subbase compaction

  • Thermal movement

  • Danger level: ⚠️ Medium (higher if uneven/settling)

  • Why it’s dangerous: If slab cracks come with uneven floors, it signals subgrade settlement.

  • Best solution:

  • Epoxy injection (structural)

  • Crack filler (non-structural)

  • Re-check soil base + compaction

8) Staircase Cracks (Diagonal Step-like Cracks)

What it looks like: Cracks following step pattern or landing edges.

Reason:

  • Stair support movement

  • Poor reinforcement

  • Differential settlement between floor levels

  • Danger level: ⚠️ Medium to High

  • Best solution:

  • Inspect support beams/stringers

  • Strengthen junctions

  • Repair with structural mortar + reinforcement

9) Rebar Corrosion Cracks (Rust-Driven Concrete Cracks)

What it looks like: Long cracks with rust stains, concrete cover popping off.

Reason:

  • Water penetration

  • Salt exposure

  • Poor waterproofing

  • Thin concrete cover over steel

  • Danger level: 🚨 High (hidden structural loss)

  • Why it’s dangerous: When steel rusts, it expands and breaks concrete—then steel becomes exposed and weak. This can silently reduce the structure’s capacity.

  • Best solution:

  • Remove damaged concrete

  • Clean/replace corroded steel

  • Apply anti-corrosion coating

  • Recast with repair mortar + waterproofing

Quick Crack Danger Guide (Fast Rule)

Usually safe: thin hairline, not growing, no water leakage

⚠️ Warning: cracks around doors/windows, diagonal, recurring after repair

🚨 Danger: horizontal wall cracks, beam/column cracks, widening fast, rust stains, uneven floors, doors suddenly jam

What You Should Do Immediately (Before It Gets Expensive)

  1. Take a clear photo now

  2. Measure crack width (coin/ruler reference)

  3. Monitor weekly (same spot, same angle)

  4. Check for signs of movement

  5. doors sticking

  6. sloping floors

  7. new cracks appearing

  8. water leaks

  9. Book a professional inspection if it’s widening or structural

The Real Truth About Cracks

Cracks are not your enemy.

Ignoring them is.

Because the cost jumps fast:

Small crack today → minor repair

Growing crack next month → major strengthening

Structural crack later → demolition-level cost


If you’re seeing cracks and you’re not sure if it’s safe, don’t guess.

Message us now for a site inspection + crack assessment so you know exactly what’s happening—and how to fix it before it turns into a rebuild.

Send a photo of the crack + location (wall/beam/column/slab) and we’ll tell you the next best step.

The Cracks You Should NEVER Ignore (And What They Really Mean)


Wallpro System & Construction Inc | All Rights Reserved.
Cagayan de Oro
bottom of page